Once the back and top have been cut and braced, the sides are formed and the body is assembled. Here are some of the custom forms, fixtures, and jigs Jim has created for forming the sides and assembling the body.
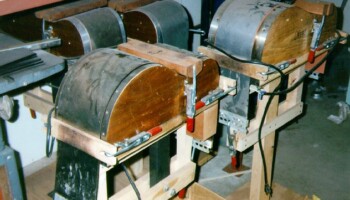
Four forms used for bending wood for sides, one for each body size. The electrical cords provide power to heaters that allow the wood to bend
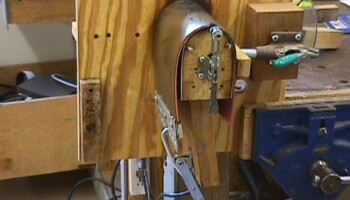
A similar idea is implemented in this form for bending cutaway pieces. A Watlow heat blanket is the source of heat
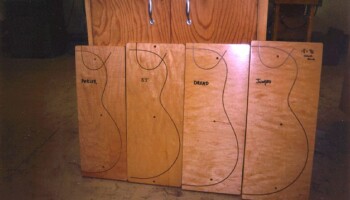
These templates have grooves for determining side lengths for bodies with and without cutaways. Precise side trimming is done later with one of Jim's routing fixtures
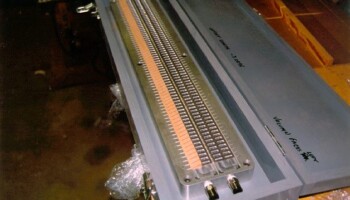
This is a fixture for making the lining ("kerfing") that holds the top and back to the sides of the guitar. For more about this fixture and the whole process of making and installing kerfing, visit the kerfing page
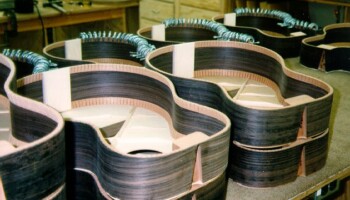
The bodies in the back have linings being glued in place, held by dozens of small clamps. The bodies in front have lining already in place. Top braces and dovetails for attaching necks are also visible here
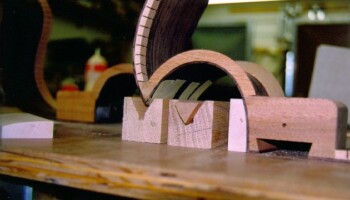
Calls for gluing the cutaway to the headblock and corner block. An extra corner block is shown. The headblock curve must be carefully machined to shape the cutaway; this is done on the Fadal, as is cutting of corner blocks
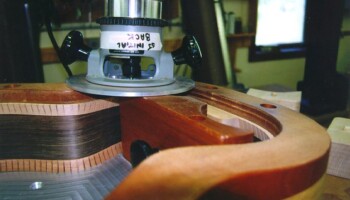
Before the back and top can be glued to the sides, the edges must be trimmed to match the curvature of the back and the upper bout break of the top. Jim devised fixtures and forms to help him do this precisely. Here a routing form is guiding routing of the headblock, kerfing, and tailblock to a 15 foot radius to receive a back
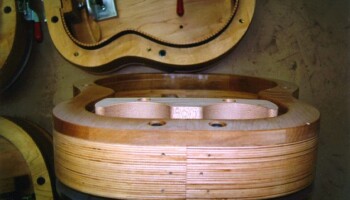
An edge-on view of the routing form for a Jumbo. If you look carefully at the edge, you'll see the curvature corresponding to the 15 foot radius Jim uses for his backs
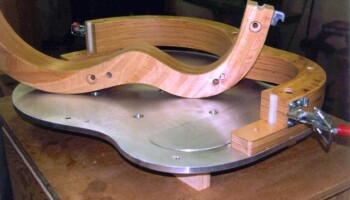
Part of the form that holds the body together as the back and top are glued to the sides. Here the form is open so you can see the plate on the bottom. There is a tapered ledge in this plate; it presses the top against the sides in a manner that maintains the 3/4 degree break angle of the upper bout region
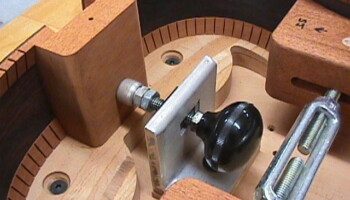
A detail of the rim support form in action, showing the clamp that presses the headblock against the form, and the turnbuckle clamp that presses the sides in place
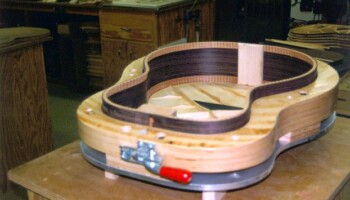
Here the form is holding a top (on the bottom!) and sides; you can see the top bracing and bridge plate in this photo
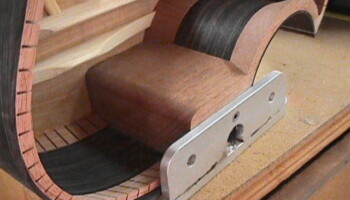
After the top is glued on, this jig—yet another Fadal creation—is used to to drill a reference hole in the headblock to guide further assembly
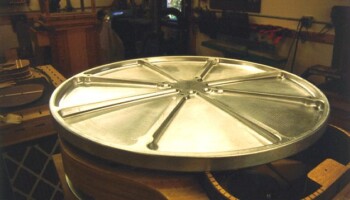
This aluminum dish was machined to be curved with a 15 foot radius. Jim applies sandpaper to it and uses it to true up the sides for receiving the back. This form was made on the Fadal from 1" thick aluminum stock, machined to 1/4" thickness in 8 segments
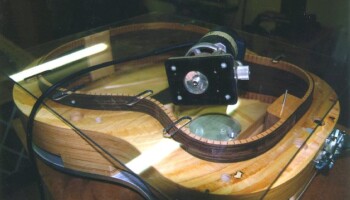
This plexiglass fixture guides a router for making slots in the lining to receive the back and top braces
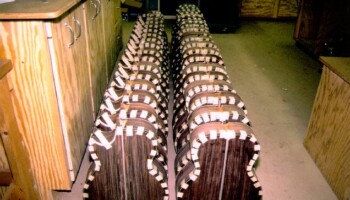
A large group of assembled bodies with back binding being glued in place (held by tape while the glue sets)


